Seven tips for shooting more professional looking headshots
 As a communicator or marketer, one day you may be called upon to shoot a professional headshot or two. Maybe this has already happened to you and you found yourself wondering how to capture a somewhat professional photo.
Well, consider your days of feeling like a fish out of water — at least for this matter — gone.
Here are seven tricks you can use to ensure a more professional portrait whether you are using a smartphone or a DSLR camera.
Shoot long
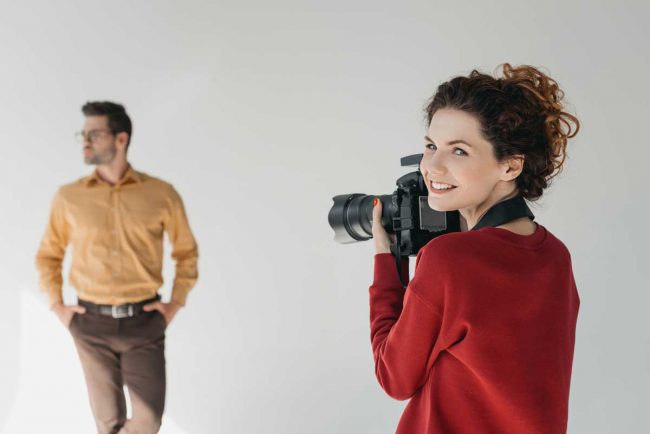
When shooting headshots, professional photographers typically will shoot with a longer focal length lens with a range of around 70-85 mm, which could mean using something like a 24-70 mm zoom lens, an 85 mm or a 70-200 mm. Doing so compresses the facial features into more accurate and aesthetically pleasing proportions. Wide-angle lenses tend to distort those features. That’s why many portraits captured on smartphones look bad.
If you are using a smartphone though, you can somewhat replicate the effect of a portrait lens by shooting from a farther distance away and then zooming in to your subject’s face for the shot. If you have an iPhone, just swap it to Portrait Mode and it will tell you from where you need to shoot. The software will blur the background to give it that more professional flare.
Consider your lighting
Lighting is key. For a professional headshot for business use, you’ll want as even light on the face as possible. If you have a lighting kit or a few soft boxes, great! Position them near your subject but out of camera view, so all features of his or her face are brightly lit with minimal but soft shadows on the face and in the background.
If you don’t have these lights, direct your subject near a window where you can take advantage of some soft, natural light. You never want direct sunlight, as this will be too harsh. Shade light is much better. If it’s a cloudy day, take your subject outside and you’ll get some fair results.
Mind your backgrounds
When selecting a place to stage the photo, consider your potential backgrounds. Make sure there’s a decent gap, or space, between your subject and the background. This prevents shadows and background details from becoming distracting features in the photo.
If you are shooting with a DSLR, use your aperture to blur the background and make your subject stand out clearly from the wall, office scene or trees behind. An aperture of f4 should do the trick. Just make sure your subject’s face is tack sharp. Again, if you have an iPhone, its portrait mode will deliver a similar effect.
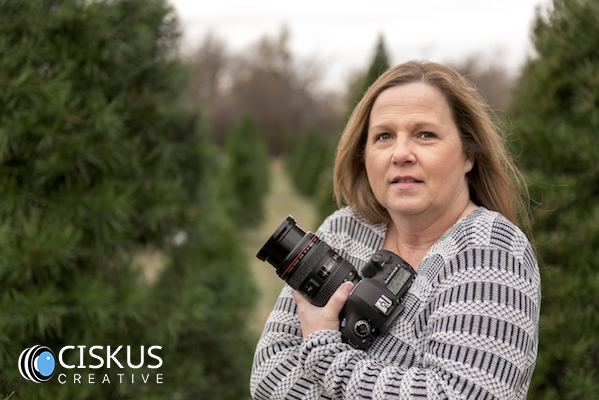
In the example below, though not a headshot, you can see the effect of a tight aperture and lighting under an overcast sky.
Hold that sandwich
Hands can be awkward, especially when you are being photographed. Don’t worry though. As this photo is a headshot, it’s literally hands free. But on the other hand, you can use your subject’s hands to help them appear straight and slimmed for the camera. Ask your subject to hold their hands out like they are holding an eight-foot-long submarine sandwich loaded with all the fixings. This should automatically straighten their shoulders and tuck their elbows in to their sides, making them stand slimmer, because, well, that’s how people stand when holding 25 pounds of sandwich.
Squinch
Obviously, a headshot is a photo made for professional use. Because of that, you want your subject to exude confidence. If the eyes are the window to the soul as they say, let’s make those eyes declare that self-assurance through squinching.
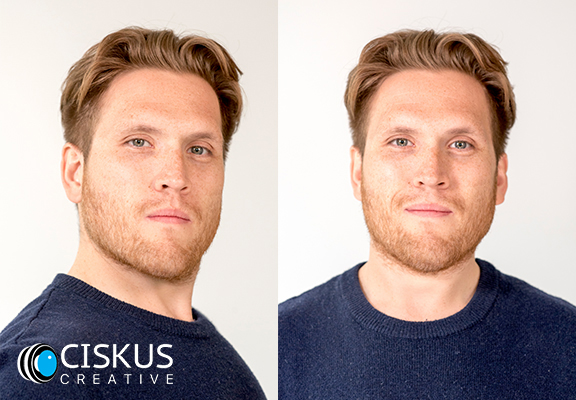
What’s squinching? Well, imagine the space between your pupil and your lower eyelid. Close that space by drawing your lower lid up but leaving you upper lids up. The result is the same as what naturally happens when you smile and it’s also the look of confidence. You know “Blue Steel” on “Zoolander”? Kind of like that, but not so exaggerated and without the pursed lips. A genuine smile works too.
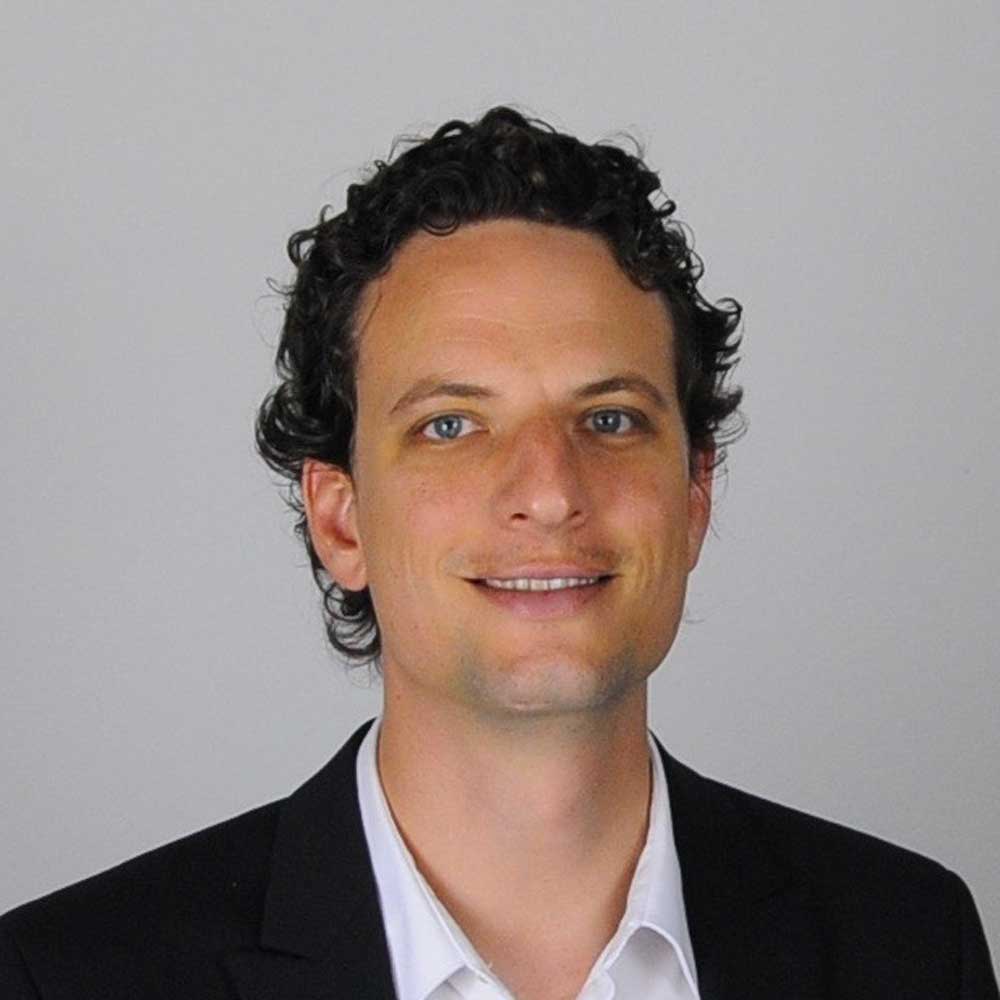
Here is a good example of a successful squinch.
Get on the level
When framing your subject, you don’t want to shoot down at them. Shoot up at them but only very slightly. Hold the camera lens level to their chin. For example, imagine a side view of you and your camera shooting your subject. Then imagine a string stretching from the subject’s chin to the center of your lens. If someone were to put a bubble level on that string, the bubble should be in the center. This positions your subject slightly higher than the camera, putting your subject in a position of perceived confidence.
Shoot from three angles
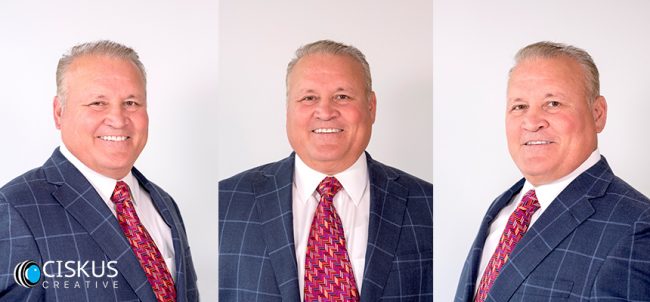
Unless you know exactly what kind of content you’re shooting for, shoot your subject facing slightly left, right and forward toward the camera. This allows you to find their “best side” and gives you photos adequate for multiple content placements. For example, if the photo is going into a magazine, brochure or a webpage — and inset to the outside of block of text — you’ll want your subject’s face to point toward the text to help guide the readers’ eyes toward your content.
Here’s an example of the angles you want to get.
Talk silly
Speaking of confidence, rest assured, your subject is probably a little bit uncomfortable if not entirely freaked out at having their picture taken. It’s your job to make them feel at ease and to be themselves. Counting off to three or saying “Ready?” will not make them ready and may just stress them out even more.
As you take your shots, make some jokes or give them some crazy instructions to catch them off guard. My favorite is to speak with a faux British accent and pretend I’m a fashion photographer, shooting and saying very British things like “Brilliant!,” “Fantastic!” or “That’s really lovely!” Just keep the atmosphere fun and the subject natural … and have fun!
Hopefully, these tips will help you wow your coworkers and your photo subject the next time someone taps on your shoulder to take some headshots.
Good luck and have fun!
Thomas Berger is a communications and digital marketing specialist. Prior to striking out on his own, he was the communications coordinator at R.K. Black, Inc., an Oklahoma City-based technology company, where for more than four years he was been a one-man team of digital marketing, internal and external communications and social media specialists.
Prior to R.K. Black, he worked for ten years as a journalist, starting out as a staff writer for two newspapers in North Carolina, then working for three papers in northeastern Oklahoma and finally finishing his journalism career as a multimedia journalist for KJRH Channel 2 in Tulsa. There he reported for and ran a hyper-local news website, BartlesvilleLIVE.com, before being transferred to covering news in Tulsa’s surrounding areas for the television station’s online “Community” news section.
Born in the Netherlands and having lived in multiple countries and a number of states, Thomas moved from North Carolina to Oklahoma eight years ago, where he met his wife and now lives in her hometown of Edmond. He holds a Bachelor of Arts in English with a journalism concentration from Western Carolina University where he also minored in photography. He currently serves on the board of the International Association of Business Communicators (IABC) Central Oklahoma chapter as the VP Professional Development after serving for two years as the VP Communications.
In his spare time, Thomas enjoys photography, writing, hiking, backpacking, camping, traveling, learning languages, gardening and being a handyman.